Input Settings
plyGame’s Input Manager supports the definition of Buttons and Axes that can be bound to keys/ buttons and axes of the keyboard, mouse, and gamepad. It can also remapped at runtime. The Input Settings/ Editor is used to define the Buttons and Axes that are used by various systems of plyGame and can even be queried by Blocks.
plyGame makes use of customised Unity Input Manager definitions and you should not make changes to them. I am referring to the editor you see in the Inspector when opening it from the menu: Edit > Project Settings > Input.
At the top of the editor you will notice a toolbar with the following options.
- Add Input Group: Input Definitions or Binds are organised into groups. This button allows to to create a new group.
- Restore Defaults: plyGame has a set of default Input Binds it creates when you import plyGame into a fresh project. You can use this button to restore those binds but keep in mind that any changes you made will be lost. Custom groups and binds will not be destroyed if you choose to keep them.
- Setup Input Manager: plyGame will automatically setup the Unity Input Manager’s definitions when needed but if they ever get messed up you can simply press this button to restore them.
Input Group
Each Input Group has an Add and Remove button to its left. These can be used to add a new Input Definition to the group or to remove the complete group.
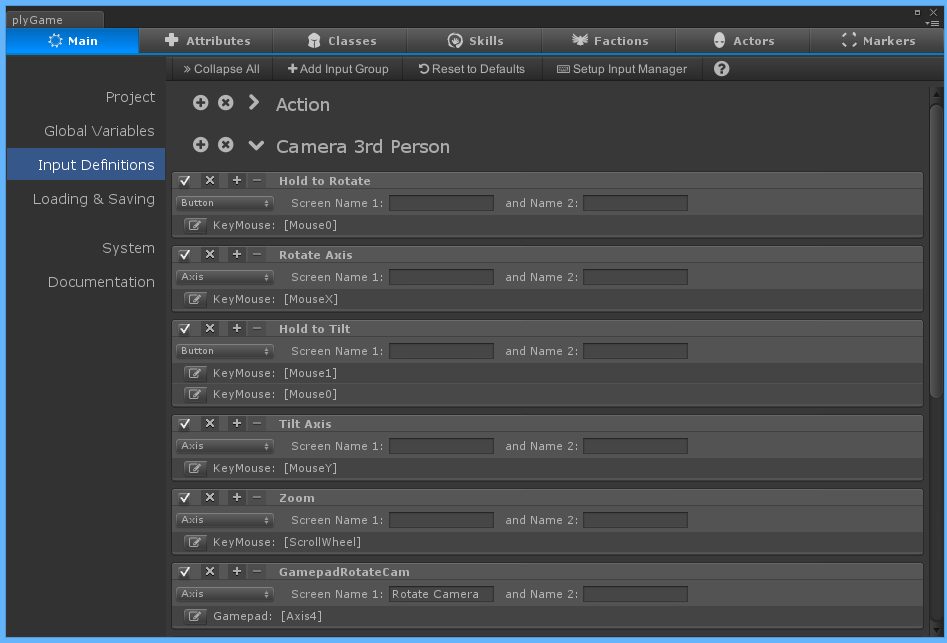
An Input Definition

The toggle can be used to enable or disable the definition. Disabling it will cause it to not be available at runtime without having top completely remove it. You should disable the definitions that are not used. For example, if you only use the 3rd person player controller then it would be wise to disable the top-down player controller’s binds.
- [X] is used to remove the input definition.
- [+] allows you to add a bind to the definition.
- [-] can be used to remove one of the selected bind.

The drop-down allows you select whether this definition is a Button or Axes. They work differently form each other. You should not change these for binds created by plyGame as you can cause the bind to stop working.
The Name 1 and 2 are names that could be used at run-time in for example the options part of your game where you allow the player to remap the input.

Finally you will see the list of binds for the input definitions. You can add as many as you like to this list but normally you will have one or two depending on how many alternative keys you would like to bind for the same input definition.
The button to the left of each bind will open a wizard where you can configure the bind.
Bind Wizard
The input bind wizard is where you configure a bind. It allows you to pick what device to bind to and what keys, axis or buttons the input bind is bound to.
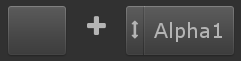
You will notice a set of buttons separated by a plus. The exact buttons you see will depend on whether you are binding a button or axes. The left-hand button is always used to bind a “modifier”. A modifier is a button that should be held before the buttons/ axes to the right-hand will be accepted as input. For example, holding the RIght Control key while pressing I to open the inventory. You will seldom need this with a keyboard + mouse device but it becomes more useful on a gamepad where you have limited number of buttons and using one button of the buttons as a toggle between functions (when held or not held) will allow you to bind more functions to the gamepad buttons.

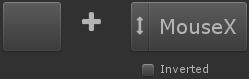
With the KeyMouse device selected and input as Button you will notice the a toggle  which allows you to change between keyboard & mouse buttons and mouse axis for the right-hand bind. In the axis mode you will also notice a [+] and [-] button. The [+] and [-] is the side of the axis that registers as input for the button. For example weapon switching on the Scroll Wheel, [+] (scroll up) might be to move forward in your list of weapons and [-] (scroll down) wil leb to move back in the list of weapons.
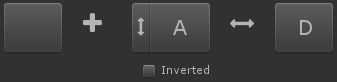
For an axis bind you will be able to select an axis as normal or if you want keys/ buttons to be read like an axis you can choose the button for positive axis and the one for negative axis (on either side of  ).
).